Saturday 27 June 2015

Lemon Tart

One of our current favourites at the moment, we fell in love with this Tart when we were in Alsace two years ago.  It is wonderful refreshing in taste and not sour at all. The tart shell was first baked, following by the filling and then, topped up with a meringue.  I am a happy camper when hubby gave his thumbs up because he dislikes lemons!  Do give this recipe a try!


Dough Ingredients:
200 g flour
1 egg yolk
100 g soft butter
50 g fine sugar
1/2 tsp vanilla bourbon sugar or vanilla sugar
1 - 2 tbsp of iced water to form a pliable dough

Filling Ingredients:
3 medium-sized eggs
2 egg yolks (medium-sized)
190 g fine sugar
juice (about 125 ml)  & zest from 2 large lemons or 3 medium-sized lemons
10 g Crème Fraîche

Meringue Ingredients:
3 egg whites
200 g icing sugar

Method:
Grease a tart form (28 cm diameter) with butter and set aside.  In a bowl, mix all dough ingredients to form a pliable dough.  Wrap dough in cling film and refrigerate for at least 30 minutes.

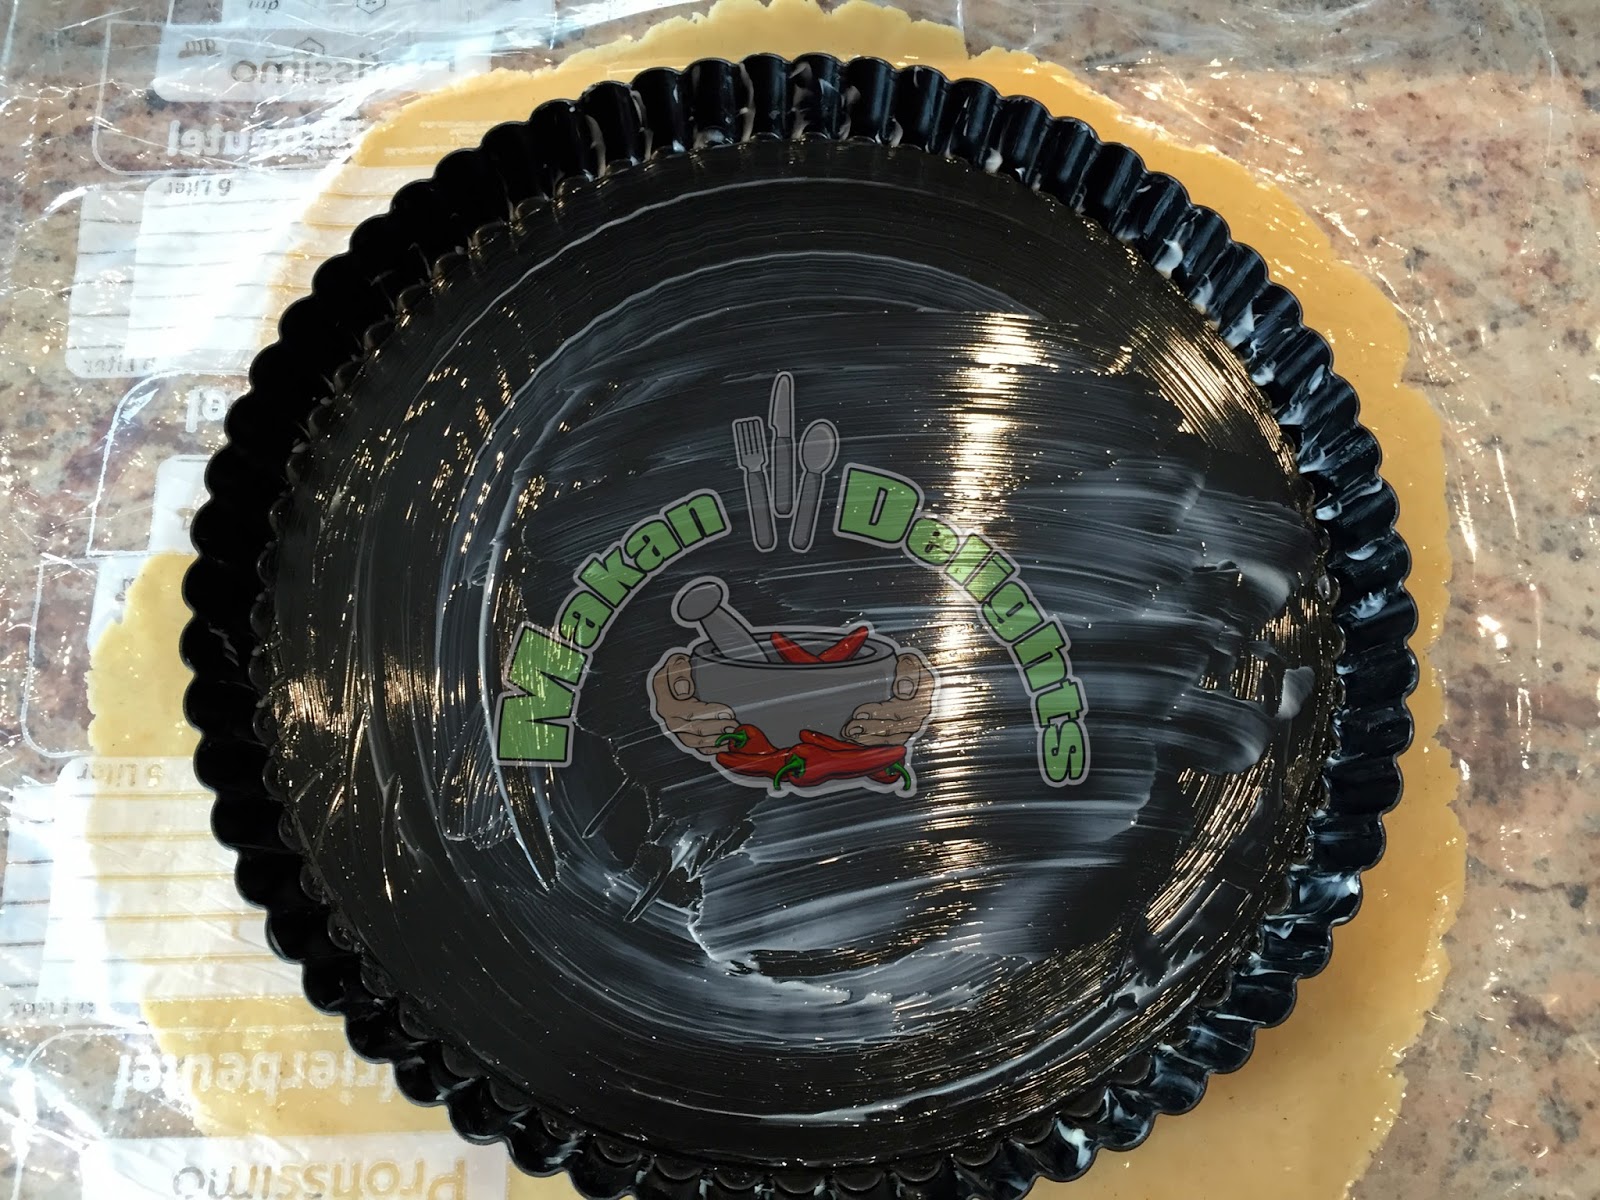
Preheat conventional oven (with top and lower heat) to a temperature of 180° C.  Roll out dough between two plastic bags to a size of 32 cm in diameter.  Remove top layer of plastic and invert dough over tart form as shown below.


Carefully remove plastic layer and ease out the dough into the corners of tart form. Poke tart base with a fork everywhere.


Place a baking on tart base and add baked chickpeas or other type of dried beans. We are going to "blind bake" i.e. bake in oven for about 10 minutes.  Once done, remove tart form from over and discard the chickpeas and baking paper.  Return to oven and bake for a further 5 minutes.  Note:  If the base of tart starts to bulge up, just poke it with a fork to release the air.  Once done, remove from oven and leave to cool down completely on a wire rack.  Reduce oven's temperature to 150° C.


Prepare filling:  In a bowl, lightly whisk sugar, egg yolks and eggs together.  Add lemon zest and juice. Whisk until the mixture is smooth.  Stir Crème Fraîche until smooth before adding to the bowl, mix well.  Pour filling onto tart base and bake for 30 minutes.


By using a cake mixer, whisk egg whites until stiff.  Gradually, add sifted icing sugar and whisk until mixture is stiff like shown below.


Transfer to a piping bag with a large star nozzle.  Once filling is done, remove from oven.  Start piping the meringue from the centre of tart outwards as shown.


Return tart to oven and bake for a further 15 minutes.  Once done, remove from oven.  By using a burner torch, burn some part of meringue to give the burnt effect.


Happy Baking!

Thursday 25 June 2015

Taiyaki

A Japanese fish-shaped snack (a cross between waffle and cake) with red bean filling.  Soft in texture and tastes delicious, I cannot stop eating them!  As filling, I used ready-made red beans which are readily available in any asian supermarkets.  To achieve the fish shape, one must use a Taiyaki maker.  A fellow Singaporean lady friend of mine has kindly brought it over from South Korea end of last year.


Ingredients (yields 12 pieces):
155 g plain flour or cake flour
1 tsp baking soda or baking powder
a pinch of salt
90 g granulated sugar
2 eggs
1 tbsp honey
160 ml fresh milk
1 packet ready-made red beans filling

Method:
In a bowl, mix flour, baking soda and salt together.  In another bowl, whisk eggs, sugar and honey together.  Gradually add milk and mix well.  Then, stir in the flour mixture and whisk until a smooth consistency is reached.  Leave aside.


I have both Taiyaki and Imagawayaki cake-makers as shown below.


Heat up the Taiyaki (fish-shaped) maker on an electric or gas stove.  Brush cake maker with a little oil and wipe clean with kitchen paper.  Add a small laddle of batter into mould.


Then, add some red bean filling and followed by another small laddle of batter.  Cover and turn over mould to cook the top side.


Once done, remove cakes from cake-maker.  Trim the fish shape by using a pair of scissors.  Serve them warm or cold!


Happy Baking!

Tuesday 23 June 2015

Kuih Koci Pulut Hitam

Another traditional malay kuih with a sweet coconut filling.  I added both glutinous rice flour and black glutinous flour into the dough.  To top up, I added a teaspoon of coconut sauce before packing them up in banana leaf parcels for steaming.  The resulting taste is a mixture of sweetness and saltiness, which is deliciously awesome.


Dough Ingredients (yields about 25 pieces):
250 g glutinous rice flour
125 g black glutinous rice flour
1 tsp salt
250 ml coconut milk
enough water to form a pliable dough

Filling Ingredients:
200 g freshly grated skinless coconut (or dessicated coconut)
100 g gula melaka (palm sugar)
100 g granulated sugar
1/2 cup water (add more water if mixture is dry)
2 pandan leaves, to be tied in a knot
1 tbsp glutinous rice flour
1 tbsp cornflour

Coconut Sauce Ingredients:
250 ml coconut milk
2 tbsp cooking oil
2 tbsp tapioca flour
salt to taste

banana leaves, to be cut into 14 cm x 14 cm square and soften over open fire

Method:
In a bowl, add both types of flour, salt, coconut milk and enough water to form a pliable soft dough.


In a medium-sized pot, add gula melaka, sugar, water and pandan leaves.  Bring to a slight boil, then add grated coconut and mix well.  Add water if the mixture is too dry. Once mixture is heated up, add glutinous rice flour and cornflour.  Remove from heat and set aside to cool down.


In a small saucepan, add all sauce ingredients together.  If mixture is too thin, cook over medium heat until slightly thick.


To form kuih koci:  Take dough the size of a pingpong ball.


Flatten dough and add a teaspoon of filling.


Then, pinch the sides and form into a ball.  Repeat procedure until dough is used up.


Place a ball in the centre of a banana leaf.


Add 1 teaspoon of coconut sauce over dough ball.


Fold bottom part of banana leaf over dough ball, followed by top half.  Then, tuck in the sides to form a parcel.


Arrange the kuih kocis on a tray and steam for about 15 minutes.

Serve warm or cold.

Happy Steaming!

Sunday 21 June 2015

Sambal Tempeh, Ikan Bilis & Kacang Goreng

A popular malay dish which is spicy and delicious in taste.  It can be served as a side dish or as a complement dish to Nasi Lemak.  Some recipes include fried potatoes but I prefer to prepare it the traditional way.  This sambal is very spicy to my taste (I am not really a sambal eater) but it is just perfect for my two boys which is a pleasant surprise to me .... who is the Asian here?  If you prefer a not too spicy sambal, just reduce the dried chillies.


Ingredients (serves 4):
1 block tempeh
150 g peanuts (with skins)
50g ikan bilis (dried anchovies)
enough cooking oil for deep-frying (for tempeh & peanuts)

80 g dried red chillies, to be soaked in warm water and blended to a pulp
2 - 3 shallots, to be peeled and finely minced
2 pips garlic, to be peeled and finely minced

4 - 5 tbsp cooking oil
3 tbsp sweet chilli sauce
1 tsp sugar
salt to taste (note:  I did not use any salt as the anchovies are salty enough)

Method:
Slice tempeh into thin strips as shown below.


In a wok, heat enough cooking oil for deep-frying over medium heat.  Deep-fry the tempeh slices in portions until golden brown.  Remove to a tray which is lined with kitchen paper.  Then, add peanuts and deep- fry until cooked.  Do not over-fried peanuts.  Once done, remove to tray.

Pour out cooking oil into a metal bowl and leave just enough oil to shallow-fry the dried anchovies until they are golden in colour.  Remove to tray.


Clean out wok and heat 4 - 5 tbsp cooking oil over medium heat.  Stir-fry minced shallot and garlic until fragrant.  Then, add blended chillies, sweet chilli sauce and sugar.  Cook further until the oil separates.


Then, add fried tempeh slices to the sambal and stir carefully, followed by fried peanuts and anchovies.  Ensure that all ingredients are covered with sambal.


Serve as a side dish or as complement dish to Nasi Lemak.

Bon Appetit!