Friday, 18 March 2016

Mee Siam

Another local favourite back home & also my hubby's besides his Mee Rebus!  As promised, I prepared this dish for lunch two weekends ago.  This is the Mee Siam with gravy version.  If you want to make it more spicy, add more chillies!  The following recipe is spicy enough for me, taking into consideration the Sambal Tumis which is served on the side.


Ingredients (serves 6):
1 pkt (400 g) beehoon (rice vermicelli), to be soaked in water for an hour & drained
500 g beansprouts, to be cleaned & tails removed
300 g shelled prawns
3 tbsp taucheo (soya bean paste), to be pounded coarsely
salt to taste
cooking oil

Ingredients to be blended:
15 stalks dried red chillies, to be cut, soaked in warm water & drained
1 big onion, to be peeled & sliced
4 pips garlic, to be peeled & sliced
2 tbsp dried prawns, to be soaked in warm water & drained

Gravy Ingredients:
2 stalks lemon grass, to be crushed
2 cm galangal (lengkuas), to be crushed
50 g peanuts, to be deep-fried & finely grounded (you may use the snack peanuts)
200 g taucheo (soya bean paste)
1.5 litre water to be mixed with 2 tbsp of fresh tamarind
6 tbsp sugar or to taste
salt to taste
cooking oil

Ingredients to be blended:
15 stalks dried chillies, to be cut, soaked in warm water & drained
10 red shallots, to be peeled & sliced
2 tbsp dried prawns, to be soaked in warm water & drained

Garnishing:
2 pcs firm beancurd, to be deep-fried & cut into cubes
a bunch of chives, to be washed, dried & cut into 2 cm lengths
5 small limes, to be halved or 1 lime, to be cut into wedges
4 or 6 hardboiled eggs

How to prepare the gravy:
In a medium-size pot, heat enough oil over medium/high heat.  Add the blended ingredients and stir-fry until fragrant.  Add in the crushed lemon grass and galangal.


Add taucheo, sugar, tamarind juice and salt to taste. Bring to a light boil over medium heat.  Then, add grounded peanuts and simmer for at least 20 - 30 minutes.  Check seasoning.  Once done, remove from heat.


How to prepare the noodle:
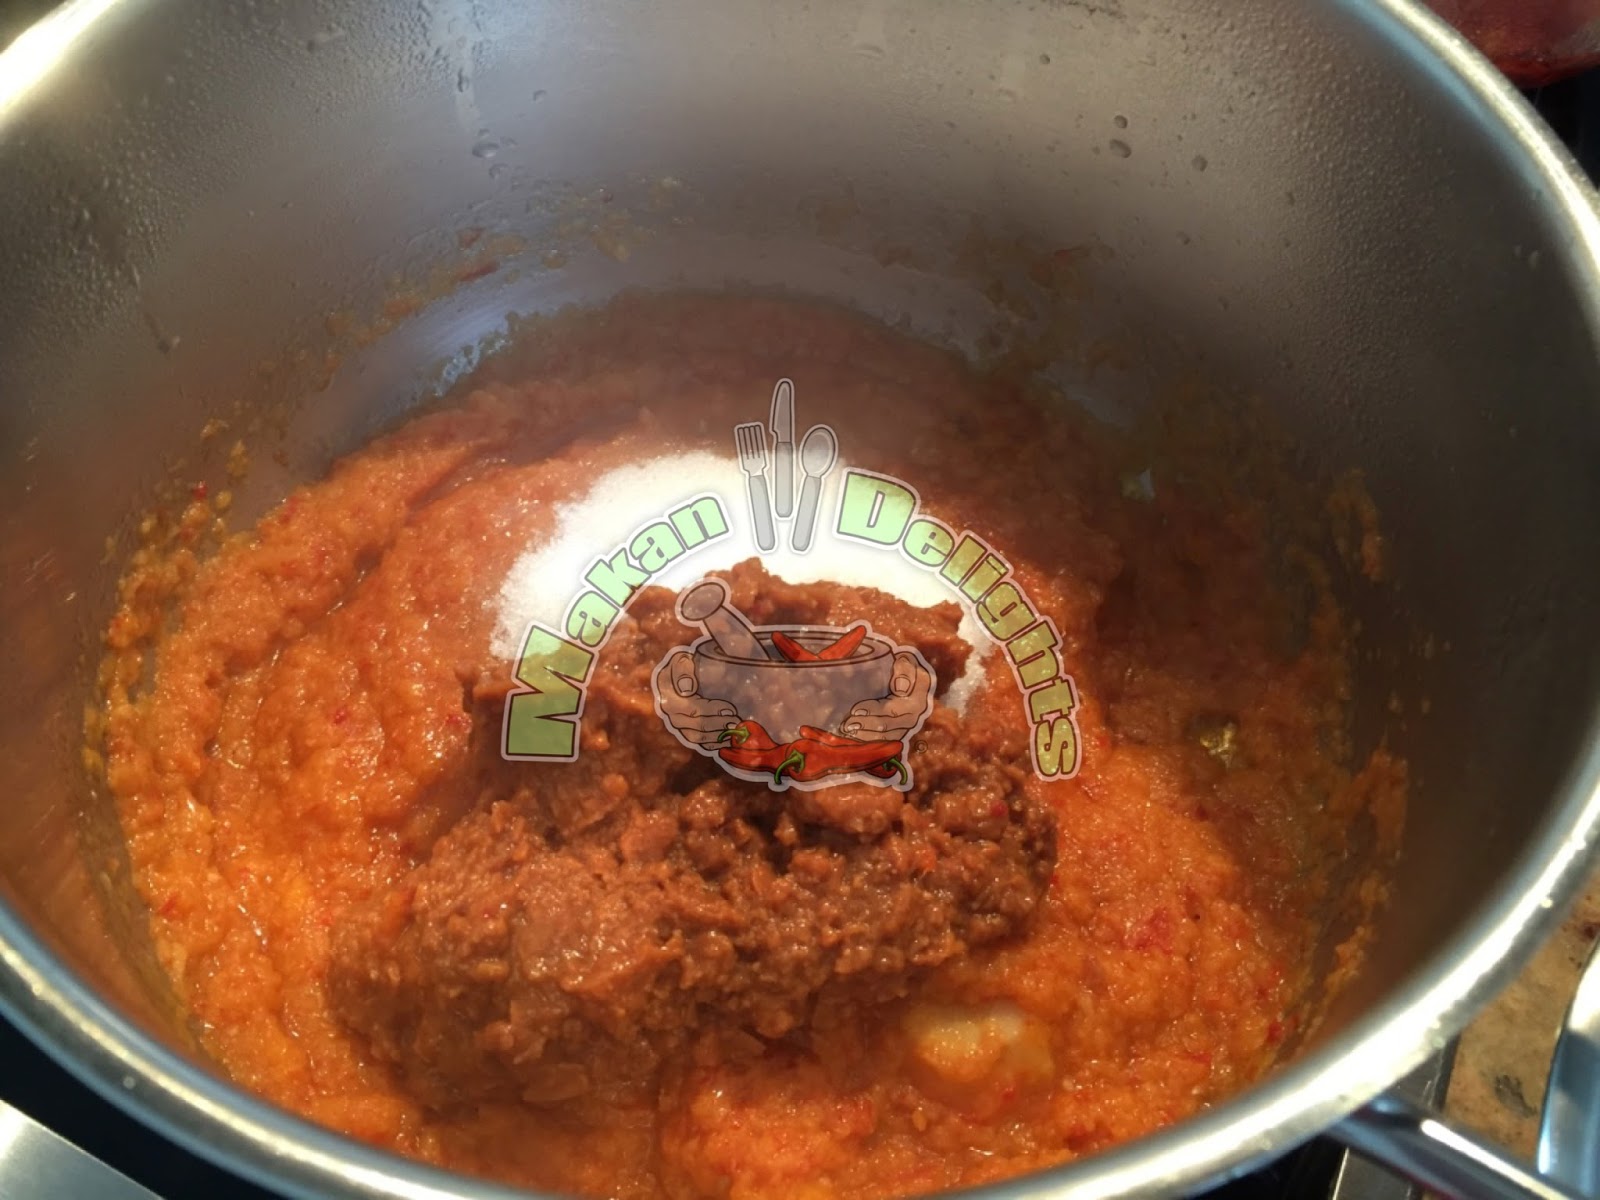
In a wok, heat enough oil over medium/high heat.  Add the blended ingredients and stir-fry until fragrant. Then, add the taucheo and stir well.  Check seasoning.  Then, check seasoning and then, add the prawns.  Mix well.


Add beehoon portionwise and mix well.  Finally, add the beansprouts and mix thoroughly.


To serve, add a serving portion into a bowl and pour some gravy on top.  Serve garnished with fried beancurd cubes, chopped chives, one half of a hardboiled egg and Sambal Tumis (optional)  on the side.

Bon Appetit!

Thursday, 10 March 2016

Salmon & Tuna Sushi

Nowadays, modern rice cookers are programmed to cook all kinds of rice including sushi but I prefer to cook the sushi rice the traditional way as taught to me by my Japanese teacher.  I have written my recipe simple to follow and used sushi mould to make the preparation easier and faster. The following recipe yields two big platters of sushi which are sufficient to appease six sushi lovers.


Ingredients (serves 4 - 6):
2 x 300 g pkts fresh salmon
1 x 300 g pkt fresh tuna
2 tubes wasabi (Japanese horseradish)
strips of gari (picked ginger)
Note:  We bought both salmon & tuna from Metro.  Ask your fish monger for fresh fish which is specially for sushi making.

Ingredients for Sushi Rice:
4 metric cups sushi rice
5 metric cups water
1/2 pkt of sushi vinegar (sushi-zu) - If you cannot get ready-made sushi-zu, add 75 g sugar & 4 tsp salt to 75 ml rice vinegar (Japanese su) into a pot.  Heat mixture to dissolve the sugar, then cool pot rapidly by plunging the base of the pot into cold water in order to avoid distillation of the vinegar.

Method:
Rice is best cooked in about its own weight of water.  New rice which contains less moisture may need less water, whereas old rice may need more water.  Experiment to get the best results.  It is advisable to stick to one brand of sushi rice.

Wash rice thoroughly until the water becomes clear.  Pass through a sieve and let rice dry & swell for about an hour.


As mentioned above, I prefer to cook the sushi rice the traditional way.  Kindly read the instructions carefully before commencing to cook the rice.  To make things easier, the preparation steps are listed below:
  1. You will need a large pot with a tight-fitting lid.  Add rice and water to pot.  Bring the rice to a boil over medium heat and then, cover pot tightly.
  2. Boil over a high heat (8) for 2 minutes.
  3. Reduce to medium heat (5) and cook for a further 5 minutes.
  4. Then, reduce heat to low (2) and cook for about 15 minutes to absorb the remaining water.
You should be able to hear the different stages of cooking:  firstly, the bubbling sound and after all the water has been absorbed, you will hear the hissing sound.  It is very important NOT to remove the lid during the cooking process in order to achieve the best sushi rice.  Note:  The figures in brackets applies to my induction hob.


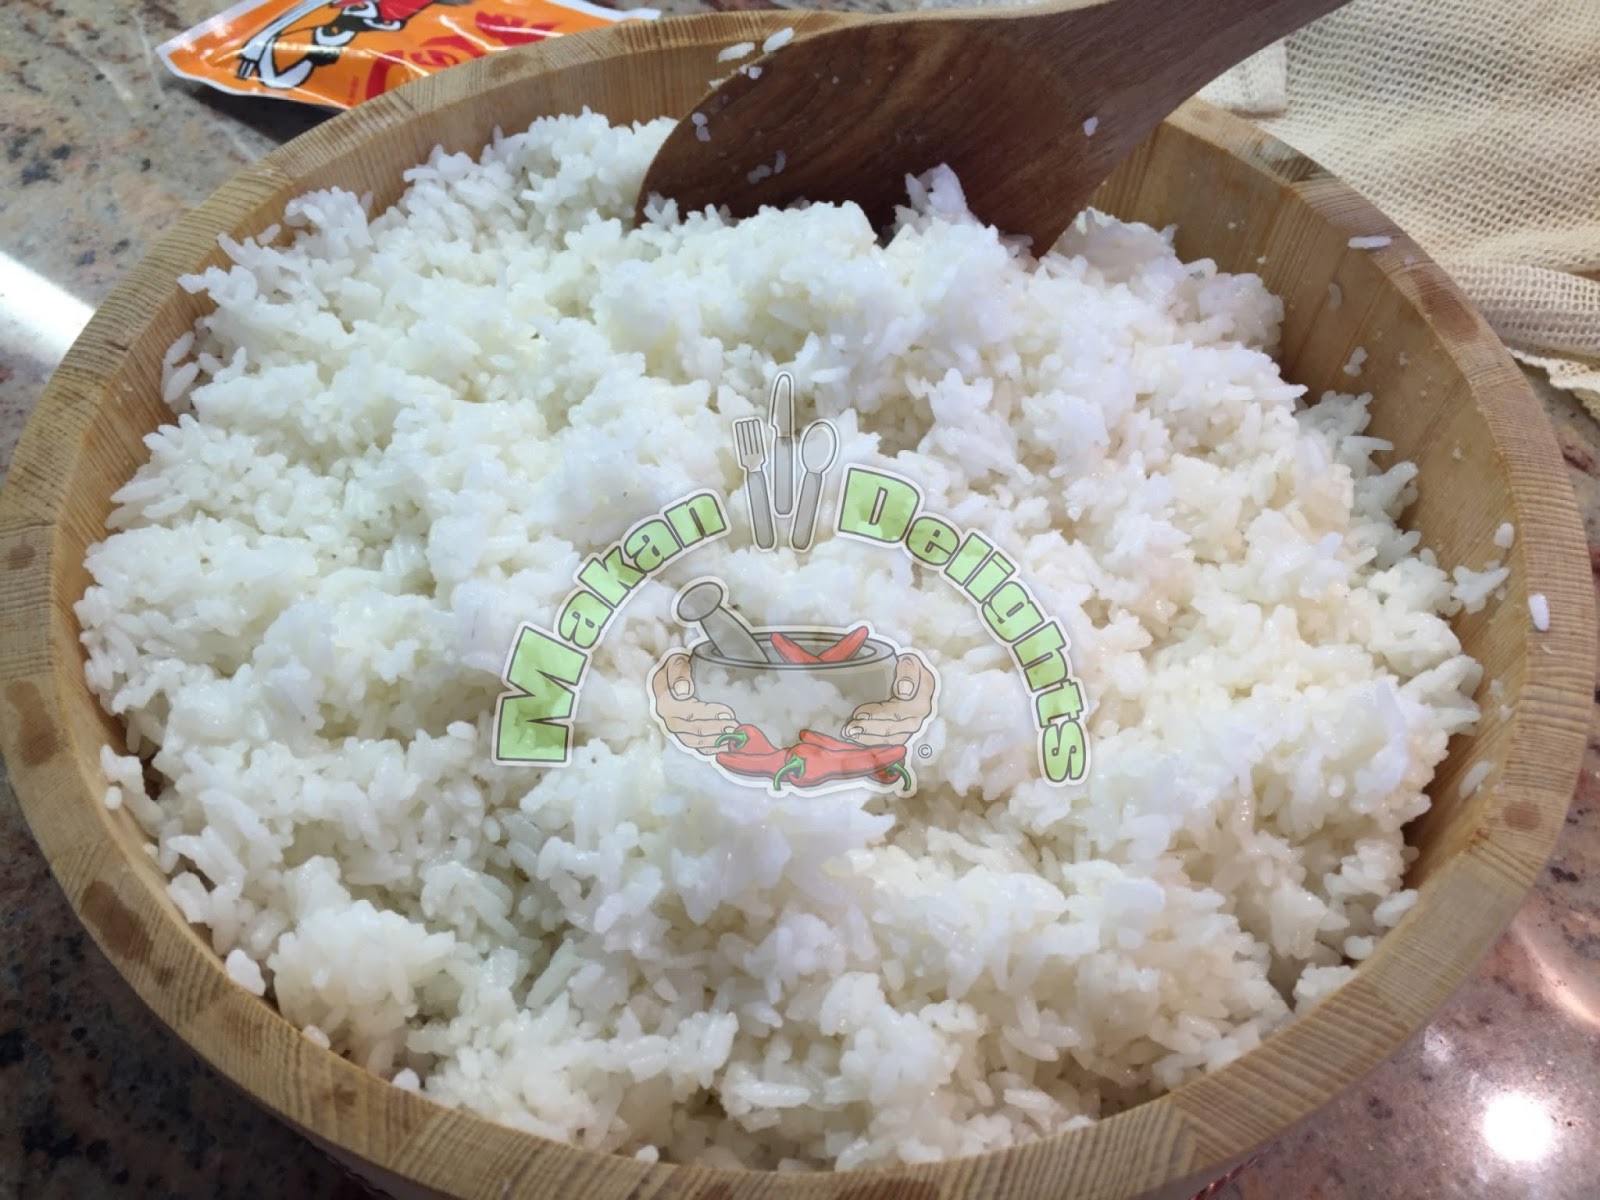
Once the rice is cooked, remove the lid and drape a teacloth over the top of the pot. Leave to cool for about 10 to 15 minutes.


Pour rice into a hangiri (a wooden rice-cooling tub) or other non-metallic container. Spread rice out evenly by using a shamoji (rice paddle) or a large wooden spoon. Then, quickly & lightly toss the rice to separate the individual grains, at the same adding the sushi-zu.  You need a helping hand from someone to fan the rice (by using an uchiwa - fan) while you are doing the above.  This action will result in an added gloss to the rice grains.  It will take about 10 minutes for the rice to be thoroughly mixed and down to room temperature.  Note:  If you are preparing your own sushi-zu, you will need 150 ml sushi-zu to treat 750 g uncooked sushi rice.


How to slice the fish:
Place a small bowl of water with a slice of lemon at hand for wetting the knife.  Fish is always cut on the bias like shown below:


Normally, I will use the Nigiri-Sushi technique to prepare the sushi.  But this time, I am using a simpler way of making sushi by using a mould.  Place a slice of salmon into each slot and by using your finger, dab a little wasabi onto the salmon slices as shown.


Fill up mould with sushi rice.  Then, place the mould presser onto the rice and press gently.  Turn mould over and remove ready-made sushi from mould.


Repeat procedure with the other salmon and tuna packets.

To serve, arrange sushi on a platter together with wasabi, pickled ginger and soy sauce for dipping.  Bowls of Miso soup will complement this dish!

Bon Appetit!

Wednesday, 9 March 2016

Pandan Chiffon Cake

One of my favourite local cakes back home!  When one is far away and has cravings for such a cake, especially a Chiffon Cake, one must die die bake it!  This time, it turns out well with no ugly "scratches".  Thanks to a "well seasoned" cake tin which has been used several times.  My next project will either be the Orange Chiffon Cake or the Blackcurrant Chiffon Cake.  Do keep tuned .....


Ingredients (for a 22 cm diameter chiffon cake tin):
7 egg whites (large size)
100 g fine sugar
1/2 tsp cream of tartar

7 egg yolks (large size)
200 g fine sugar

To be mixed together:
1 tsp vanilla essence
1 tbsp pandan paste or 2 tbsp pandan juice
1 tsp pandan essence (optional)
100 ml corn oil
150 ml thick coconut milk

200 g plain flour or cake flour
1/2 tsp salt
1 tbsp baking powder

Method:
As a rule, please ensure that your chiffon cake tin is not greased.  Preheat your oven to a temperature of 170° C.  In a bowl, sift flour, salt and baking powder.  Set aside.

In a separate bowl, mix coconut milk, corn oil, pandan paste, vanilla essence, pandan essence (if using) together.  In a clean mixing bowl, whisk egg yolks and sugar until light & creamy.  Add mixture to the egg yolks mixture slowly and continue whisking. Then, fold in flour mixture in portions.


In another mixing bowl which is free from fat, whisk egg whites.  Add sugar & cream of tartar gradually.  Continue whisking until egg whites are stiff and hold its shape.


By using a spatula, slowly fold in the egg whites mixture in portions to the egg yolk mixture.  Ensure that you fold in one direction.  It does not matter whether you add the egg yolks mixture to the egg whites mixture or otherwise.  I have tried both methods and I still get the same result.  Just remember not to overmix!


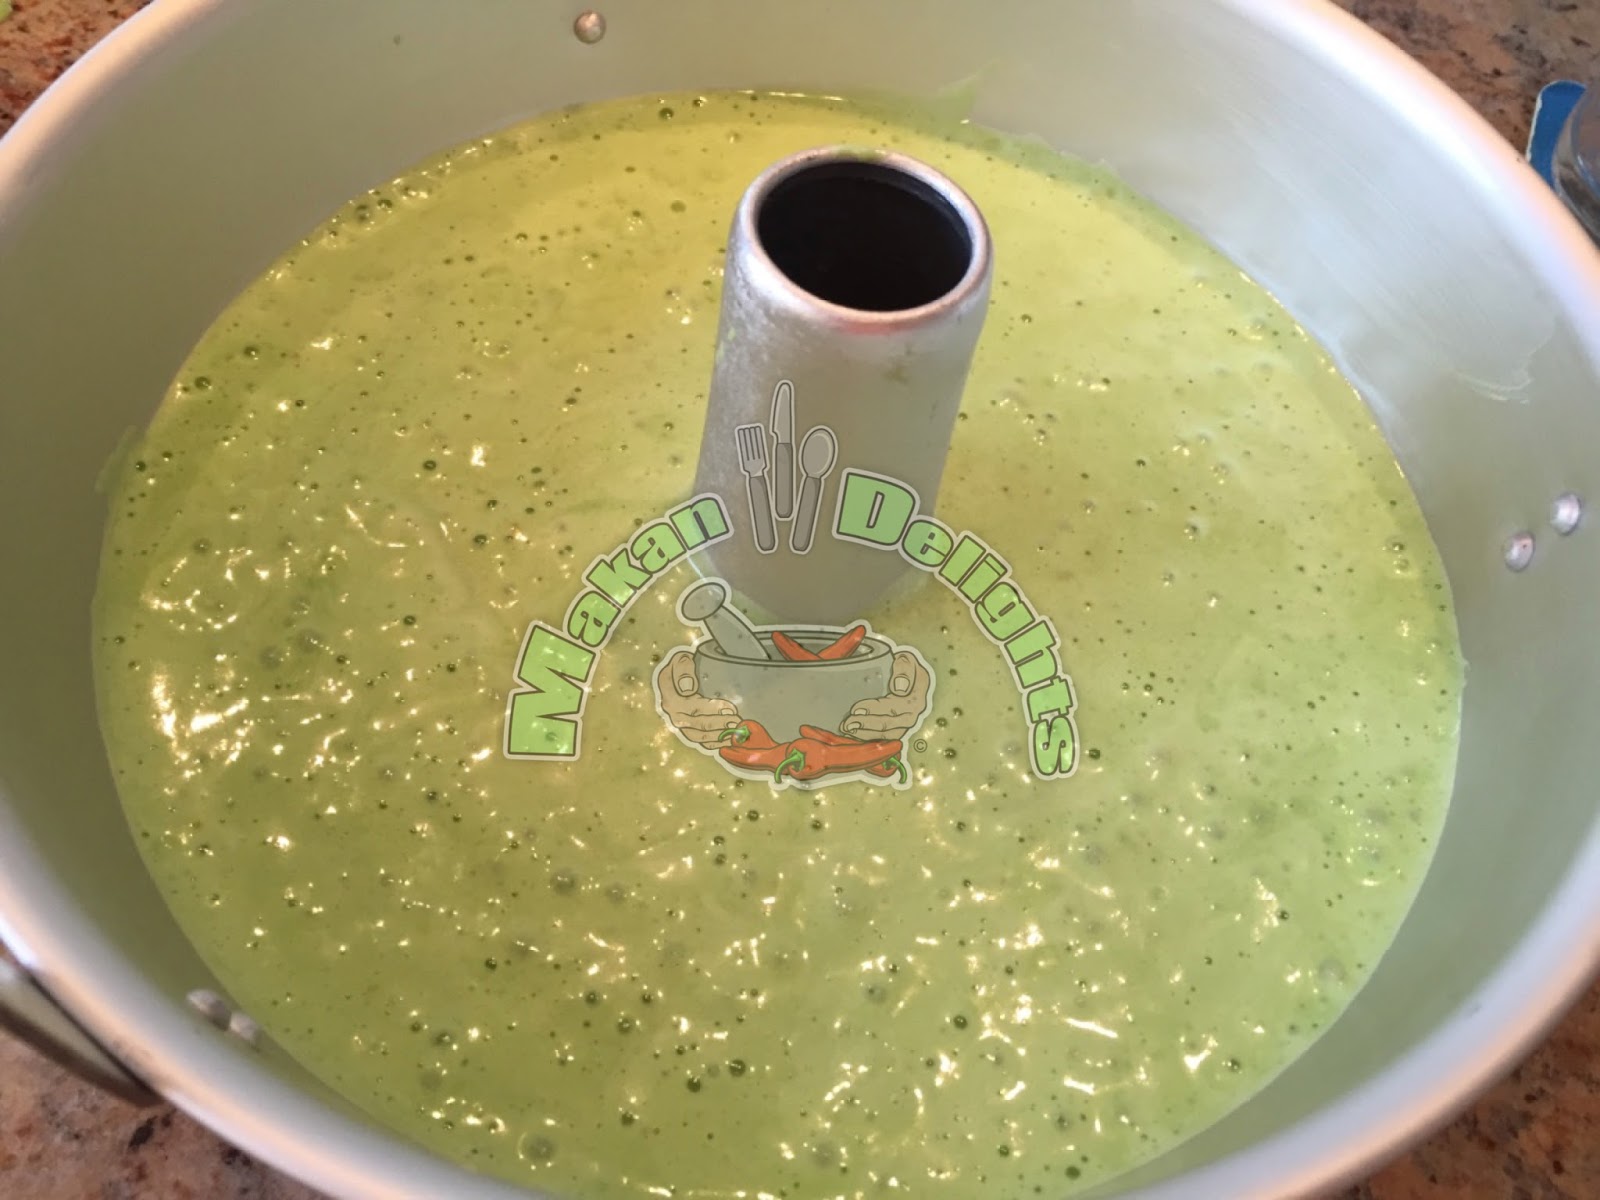
Before pouring batter into the chiffon cake tin, give your batter bowl a few blows by dropping it from a low height onto the worktop in order to get rid of the bubbles.  Pour batter into an ungreased chiffon cake tin.  Ensure that the batter is spread evenly by using a spatula.


Give the cake tin another blow by dropping it from a low height onto the worktop. Bake in a preheated oven for about 50 to 55 minutes.  Once done, invert cake tin over a rack and leave to cool down completely.  Your chiffon cake will come out easily without any scratches if your cake tin is "well seasoned"!  I had to "season" my cake tin a few times before my chiffon cake comes out intact. My tip:  Do not wash your cake tin with any detergent.  Simply wash it with hot water and dry well.


Voilà!  Here is the Pandan Chiffon Cake completely out from the cake tin!


Happy Baking!

Tuesday, 23 February 2016

Sambal Tumis

A classic malay sambal or condiment which normally accompanies our local favourites such as Lontong, Nasi Lemak and Mee Siam Goreng.  This sambal is a bit tedious to cook if you want it to have the perfect colour and taste.  It is really worth the effort!  Try it out!


Ingredients:
1 tbsp fresh tamarind, to be mixed with a little water
1 tsp aji-no-moto (optional) - I omitted this ingredient
3 tsp or enough sugar to taste

salt to taste

Blended Ingredients:
40 stalks dried chillies, to be cut into pieces and soaked in warm water
5 stalks fresh chillies, to be sliced
1 big onion, to be peeled and sliced
1 tsp roasted belacan (shrimp paste)


Variations:  Sambal Tumis can be served with boiled eggs, fried anchovies, squids or prawns.  The squids or prawns are to be cooked together with the sambal.


Method:
Heat some oil in a wok and add in the blended ingredients.  Stir-fry over medium heat until fragrant. Add in sugar and stir-fry until mixture caramelizes and thicken.  Then, add in enough tamarind juice and let it simmer until the colour darkens. By cooking it longer will intensify the colour.  Check seasoning.
Once done, remove from heat and leave aside.  Please note that garlic is not used in this recipe at all.  This is to avoid the sambal having a bitter taste.


Bon Appetit!

Mee Siam Goreng

A local favourite back home which I have been wanting to prepare for quite some time.  My hubby prefers the mee siam with gravy version, whereas our son and I prefer the fried version.  So, we won! I get to cook this dish with the promise that I prepare the other version for him the next time.


Ingredients (serves 4 to 6):
1 packet beehoon (rice vermicelli), to be soaked in water for about an hour & drained
300 g bean sprouts, to be cleaned and tails removed
300 g shelled prawns
2 tbsp taucheo (soya bean paste)
1 tbsp sugar or to taste
300 ml tamarind juice
6 tbsp cooking oil

Pounded Ingredients:
10 - 15 dried red chillies, to becut, soaked in warm water & drained
50 g dried prawns, to be soaked in warm water & drained
3 pips garlic
6 shallots, to be peeled & sliced
10 g roasted belacan (shrimp paste)

Garnishing:
2 pcs firm bean curd, to be cut into small cubes & deep-fried
2 - 3 eggs, to be hardboiled, peeled & sliced
a bunch of chives, to be washed, dried & cut into lengths
limes, to be halved

Method:
Heat cooking oil in a wok over medium-high heat.  Add pounded ingredients and stir-fry until fragrant.  Then, add taucheo and stir-fry for another 2 minutes.  Add prawns and stir-fry until colour changes.


Add bean sprouts and stir-fry for a while.  Then, add beehoon, sugar and tamarind juice.  Stir well and bring to a slight boil.  Put on lid and switch off heat.  Leave for about 5 minutes.


To serve, add mee siam to a bowl and garnish with chives, fried bean curd, egg slices & limes.  I also serve my sambal tumis on the side.

Bon Appetit!