Showing posts with label Eid (Hari Raya) Cookies/Kuihs. Show all posts

Tuesday, 14 July 2015

Biskut Sarang Semut

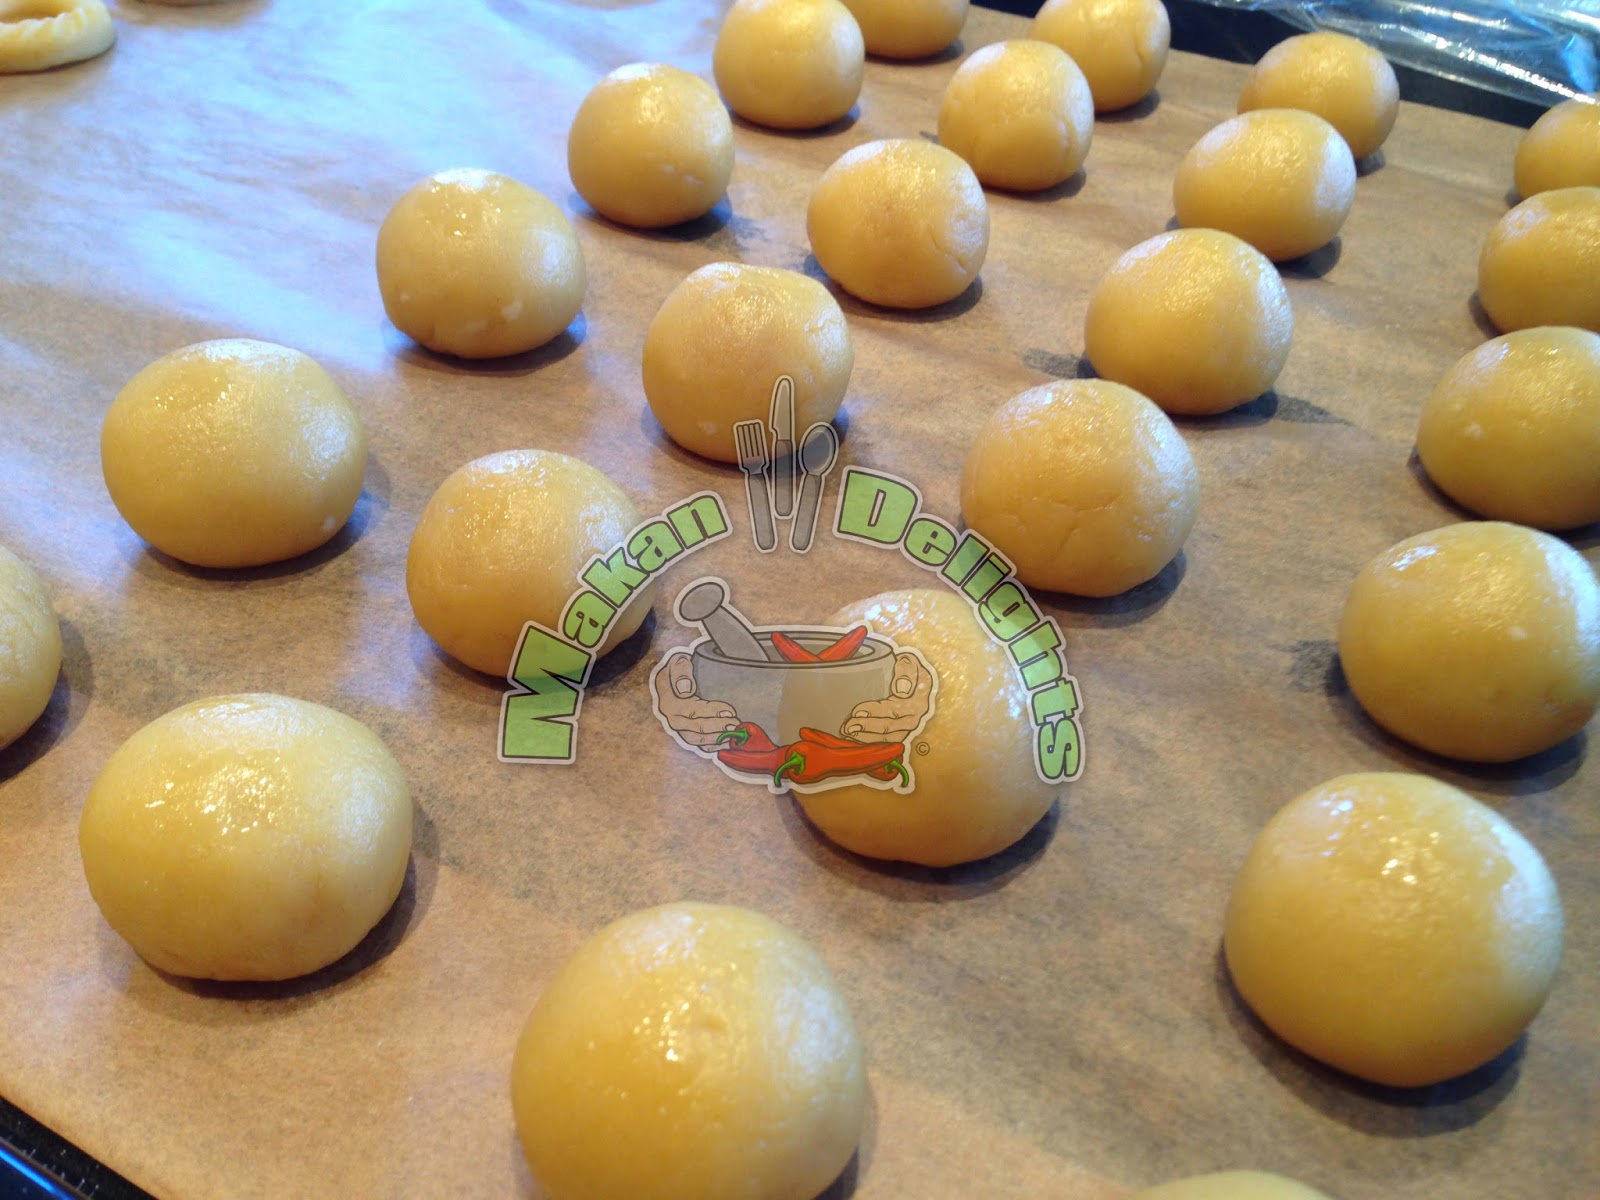
Literally translated as Ant Nest Cookies, these are normally served in many Malay homes during Eid Mubarak. To create the look of a nest, the prepared dough needs to be refrigerated, then grated and filled into mini paper cases and sprinkled with dark chocolate rice before baking.  It is simple to prepare and tastes awesome!


Ingredients (yields about 100 pcs):
350 soft butter (at room temperature)
460 g cornflour
170 g icing (confectioner's) sugar
115 g plain flour
2 tbsp custard powder
100 g chocolate rice

Method:
By using a mixer, combine all ingredients except the chocolate rice.


Form dough into balls and refrigerate for at least half an hour.


By using a fine grater, grate the refrigerated dough balls into a bowl.


Add a teaspoonful of grated dough into each mini paper cases and sprinkle a little chocolate rice on top.  Arrange on a baking tray.


Bake in a preheated fan oven at a temperature of 180° C for about 15 to 17 minutes. Once done, leave to cool down completely before storing in an airtight container.

Happy Baking!

Chocolate Macaroons

A great way to use up leftover egg whites!  With Eid Mubarak approaching, I started to bake the classic Hari Raya biscuits and kuihs.  To make these macaroons, I added chocolate chips and chocolate-flavoured cornflakes to the whipped egg whites and icing sugar mixture.  Then, add spoonfuls of mixture into mini paper cases and they are ready to be baked!


Ingredients (yields about 90 to 100 pcs):
6 egg whites
350 g icing (confectioner's) sugar
1 tsp vanilla essence
300 g chocolate chips
375 g cornflakes (chocolate flavoured), to be lightly crushed

Method:
By using a mixer, whisk egg whites and icing sugar until stiff.


By using a spatula, fold in vanilla essence, chocolate chips and cornflakes.  Mix well.


Spoon mixture into mini paper cups and bake in a preheated fan oven at a temperature of 180° C for about 5 to 7 minutes.  Leave to cool down completely before storing in an airtight container.


Happy Baking!

Sunday, 15 February 2015

Kek Lapis Legit

Another popular cake which is served during Chinese New Year and Eid Mubarak celebrations.  I used to be crazy of Bengawan Solo's Kek Lapis and always carried one cake on our return flight home, but I have stopped doing so since 3 years ago.

Kek Lapis is known to be one of the most leceh (troublesome) cake because of its multiple layers. I took slightly more than 2 hours to bake all 18 layers and I enjoyed every minute or I should say, every layer of it.  This cake is rich in taste, just look at the number of eggs which I added!  If you decide to bake this cake, please read the recipe carefully, especially the preparation method.


Ingredients:
500 g butter
100 g condensed milk (thick)

30 egg yolks
220 g fine sugar
1 tbsp ovalette (optional)

100 g cake flour
30 g milk powder
1 tsp rempah kuih or spekkeok powder (mixed spices)

extra condensed milk
150 g melted butter

an 8"x8" baking pan

Method:
Sift cake flour, milk powder and rempah kuih into a bowl and mix well.  Set aside. Grease the bottom of baking pan with butter and line with baking paper.  Make sure that the baking paper fits the pan exactly!  There is no need to grease the sides of baking pan.


In a small bowl, mix a little condensed milk with 2 tbsp of melted butter.  You need to prepare this mixture again whenever needed.  This mixture is used to grease between the layers of batter.


In a mixing bowl, whisk butter and condensed milk until light and pale in colour.


In another mixing bowl, whisk egg yolks, fine sugar and ovalette together at high speed until thick and creamy.  Important note:  Ensure that bowl and whisk are CLEAN and FREE of butter or oil!!! Or else, your egg yolks mixture would not triple in volume!


Add butter mixture to egg yolks mixture and whisk at low speed until well mixed.  Do NOT overmix! Your batter should not curdle.  If it starts to curdle, add a tablespoon of the flour mixture.


Lastly, fold in flour mixture carefully, a tablespoon at a time, until well mixed.  Take about 80 g of batter and transfer to a small bowl.


Preheat conventional oven (with top & bottom heat) to a temperature of 170° C with the empty baking pan inside the oven.  Do NOT use convectional (fan) oven!  Once required temperature is achieved, remove baking pan from oven.  Immediately change your oven setting to TOP HEAT ONLY (small grill) and adjust the temperature by taking the lowest possible temperature available. My Miele oven has a lowest temperature of 200° C for grilling.  Place your oven grate on the second rack from bottom. 

Add 80 g of batter in baking pan and by using the back of a tablespoon, spread batter evenly to cover the base.


Bake in oven for about 3 to 4 minutes or until golden brown.  Kindly note that your baking time might differ from mine.  So, please stay by the oven and observe!  Once ready, remove from oven. By using the kek lapis presser, press evenly all over.  If there are bubbles on the surface, poke them with a toothpick before pressing it with the presser.


Then, brush evenly with the condensed milk/butter mixture by using a pastry brush.


Once done, add 80 g of batter and spread evenly on the baked layer.  The hot baking pan will melt your batter and spread it evenly.


Repeat procedure until all batter is used up.  Once the last layer is baked, brush evenly with condensed milk/butter mixture.  From my baking experience, I will get either 17 or 18 layers from this recipe.  Invert baking pan over a wire rack and remove pan. Leave kek lapis to cool down completely.


Remove baking paper and place kek lapis on a cake tray.

Happy Baking!

Monday, 2 February 2015

Kuih Baulu (CNY)

One of my favourite kuihs which is a must-bake during Chinese New Year and Eid Mubarak celebrations.  This kuih is similar to madeleines in taste and texture.  I can still recall our kampong days where I helped my mum to bake this kuih in a copper mould over charcoal fire.  Nowadays, the aluminium mould is readily available everywhere and can be used in the home oven.  The following recipe can be halved to suit your requirement.


Ingredients (yields about 100 pcs):
10 egg whites (medium-size)
1/2 tsp baking powder
1/2 tsp vanilla powder
400 g sugar
10 egg yolks (medium-size)
400 g plain flour, to be sifted

some butter for greasing

Method:
In a clean mixing bowl, whisk egg whites with baking powder until creamy (not stiff). Add vanilla powder and sugar a little at a time.  Continue whisking until thick and creamy.  Then, add egg yolks one at a time and whisk until thick and cream.


Preheat oven (do not use the fan) to a temperature of 200° C.  Grease the baulu mould with butter and "bake" for about 5 minutes.  Meanwhile, scoop 1/4 of egg mixture into a separate bowl.  Fold in 1/4 of flour a little at a time, into the egg mixture. Please fold in one direction only in order that the batter is not over-mixed.


Note:  If you are using the baulu mould for the first time, please do not wash it with soap and water. Just add cooking oil to the brim and "bake" it in a hot oven at a temperature of 180° C for about 30 minutes.  Discard the oil.  The mould is now ready for use.

Remove mould from oven.  Add one tablespoon of batter just enough to fill about 3/4 of each baulu design.  Return mould to oven and bake for about 10 minutes or until golden brown.  Do not overbake!


By using a satay stick, remove the kuih baulus from mould while they are still hot. Grease mould with butter again and heat it up in the oven for about 5 minutes before filling with batter.  Repeat procedure until batter is used up.


If you wish for a slightly crispy finish, arrange them on a baking tray which is lined with baking paper. Reduce oven temperature to 180° C and bake for 5 minutes. Once done, remove from oven and leave kuih baulus to cool down completely before storing them in a bottle.


Happy Baking!

Wednesday, 28 January 2015

Kueh Bangket (Bangkit Sagu)

This cookie is known to be the most "leceh" (troublesome) of all cookies but the taste is delicious. It also has the melt-in-the-mouth texture.  During my younger days, I helped my mum bake & sell various cookies for both Chinese New Year and Eid Mubarak.  This time, I used my mum's recipe and I made some amendments.  In her recipe, my mum cooked the coconut milk until thick and oily. Whereas, in the following recipe, I added coconut cream - image of packet is shown below and how to prepare it.  The tapioca flour and cornflour need to be "fried" with pieces of pandan leaves in a wok over low heat for at least half an hour or until light and fragrant.  I suggest that this is done a few days before using.


Ingredients:
300 g tapioca flour or tapioca starch
30 g cornflour
3 pandan leaves, to be washed, dried & cut into 5 cm pieces
1/4 tsp vanilla powder

120 g icing sugar
2 egg yolks (medium-size)
140 g coconut cream

Method:
In a wok, fry tapioca flour and cornflour with pandan leaves over low heat until light and fragrant. The frying process will take about 30 minutes.  Once done, set aside and leave to cool down completely.  It is better to leave overnight or a few days before using.  Before using, it is best to sieve the flour mixture twice.

Alternatively, you can bake in a preheated oven (do NOT use the fan) at a temperature of 120° C for about 30 minutes, stirring occasionally.  Before baking, don't forget to line your baking tray with baking paper.


In this recipe, I added coconut cream from the packet as shown below.  According to packet instructions, 140 ml hot water to be added to 200 g coconut cream.  Stir thoroughly and set aside to cool down.  Measure the required amount (140 g) to be used in this recipe and refrigerate the balance for not more than a week.


In a mixing bowl, whisk egg yolks and icing sugar together until creamy and pale. Then, add measured quantity of coconut cream and whisk well.  Note:  Sorry for the bad lighting!


Lastly, fold in the flour mixture a little at a time, not forgetting to add the vanilla powder in the process.  From my experience, I do NOT add all the flour mixture because the quantity of flour required depends on the egg mixture.  Here, you have to use your own "agaration" (estimation).  You will know yourself when the dough has become pliable to be rolled.  Use the balance of flour mixture for dusting your worktop and moulds.


Roll out dough to a thickness of 0.5 cm and cut out your desired shapes.  Dip cookie moulds in flour mixture to ensure that the dough does not stick and use the pincer to create a design if you wish. Arrange on a baking tray which is lined with baking paper.


Bake in a preheated oven (do NOT use the fan) at a temperature of 160° C for about 15 minutes. Kindly note that your oven's temperature might differ from mine.  Please adjust baking time accordingly.  Once done, remove from oven and leave aside to cool down completely before storing in an airtight container.  The second photo shows the undersides are nicely browned although the tops are light in colour.


Happy Baking!

Tuesday, 27 January 2015

Pineapple Tarts (CNY)

With Chinese New Year approaching, some of my blog readers requested that I post some cookies and simple snacks recipes.  I have already posted the recipe for Beef Bak Kwa and more recipes will come very soon ..... the next one will be Kuih Bangket or Bangkit Sagu!

This Pineapple Tarts recipe belongs to my mum and this time, I made them slightly different.


Dough Ingredients (yields 80 pieces - 3.5 cm dia):
250 g soft butter
2 egg yolks (medium-size)
about 400 g plain flour
1 tsp vanilla essence
pinch of salt
1/4 cup water

Filling Ingredients:
3 ripe Del Monte pineapples
2 cups sugar or according to one's taste
1 cinnamon stick
2 pieces cardamon
3 pcs of tiny rock sugar

Method:
Skin and remove pineapple trunk.  Grate pineapples and transfer to a fine sieve over a bowl. Leave aside for about half an hour.  Save the juice in a jug and set aside.  In a medium-size pot, add grated pineapples, cinnamon stick, cardamon, sugar and rock sugar. Cook over low/medium heat until dry and dark in colour.  If the filling looks dry before it turns dark, add a little bit of pineapple juice.  This cooking of filling will take at least 3 to 4 hours depending on the heat used or it can be cooked by spreading over a few days.


In a mixing bowl, beat butter, egg yolks and water together.  Then, add in vanilla essence, salt and flour.  Continue kneading until a pliable dough is formed.


Roll out pastry on a floured surface to a thickness of 0.5 cm and cut the dough by using a pineapple cutter (3.5 cm diameter) below.  This time, I used the plain mould and pinched the design on them. Arrange on a baking tray which is lined with baking paper.


Divide filling into 5 g portions and form them into tiny balls.


Add filling to the centre of tart dough. Then, decorate tarts with a star using the balance dough:  roll out dough to a thickness of 0.2 cm.  I use my fondant cutter for this purpose.


Bake in a preheated fan oven (140° C) for about 40 minutes.  You may bake them for about 10 to 15 minutes at a temperature of 180° C.  Kindly note that your oven's temperature might be different from mine.  Please observe the baking time carefully. Leave to cool down completely before storing in tin - place a pergament paper between each layer.


Another option is to form the dough into little fruits with cloves as stalks.  Divide dough into 12 g portions and form them into balls.


Divide filling into 9 g portions and form them into balls.  You need to wet your hands when it gets sticky.


Take a portion of dough and flatten it on your palm to about 5 cm in diameter.  Place a portion of filling in the middle.  Flatten the outer circumference of dough in order that the filling can be contained.  Smooth all seams and form into a ball.  Arrange on a baking tray which is lined with baking paper.


Brush with egg yolk and position a clove on top as shown below.


Bake in a preheated fan oven (140° C) for about 40 minutes.  Leave to cool down completely before storing in tin - place a pergament paper between each layer.


Happy Baking!