Monday 16 February 2015

Nian Gao (Kuih Bakul)

A traditional steamed cake which is also known as Kuih Bakul or Glutinous Rice Cake or New Year Cake.  It is believed that by eating a piece of it, your luck will improve during the new year.  What about making your own Nian Gao and give it away as a gift?  You only need 3 main ingredients, namely brown sugar, glutinous rice flour and water.  Some recipes use coconut milk but I prefer to use only water.  The steaming time depends on the capacity of your containers.  Use small containers if you prefer less steaming time.  It is advisable to keep the Nian Gao for about 3 days before consuming.

This is my last CNY goodie post and I would like to take the opportunity to wish all my blog readers a prosperous Year of the Goat!  Gong Xi Fa Cai!!!


Ingredients:
255 g brown sugar
350 ml water
300 g glutinous rice flour
a small pinch of salt

Method:
Lightly oil the containers of your choice.  Instead of oiling them, you may line them with banana leaves.  I chose not to line them with the latter because I would like to use my pretty glass containers (250 ml capacity) from Weck.

Sift glutinous rice flour into a bowl and add a small pinch of salt.  Mix well and set aside.


In a clean pot, add brown sugar and water.  Cook over medium heat until sugar is dissolved. Remove pot from heat and leave to cool down completely.


Add sifted glutinous rice flour a little at a time into brown sugar/water mixture and whisk until well mixed. Then, strain mixture through a sieve into a bowl twice in order that all lumps are removed.


Pour mixture into your preferred containers.  Do NOT fill to the brim but just 3/4 full or just below the brim.


Cover containers with a piece of cloth in order that they are free from water drops during steaming. Steam over medium heat for about 5 to 6 hours.  I used my Miele electric steamer which did a great job and I steamed them for exactly 5 hours.


Once done, remove from steamer and leave aside to cool down completely.


Bon Appetit!

Sunday 15 February 2015

Kek Lapis Legit

Another popular cake which is served during Chinese New Year and Eid Mubarak celebrations.  I used to be crazy of Bengawan Solo's Kek Lapis and always carried one cake on our return flight home, but I have stopped doing so since 3 years ago.

Kek Lapis is known to be one of the most leceh (troublesome) cake because of its multiple layers. I took slightly more than 2 hours to bake all 18 layers and I enjoyed every minute or I should say, every layer of it.  This cake is rich in taste, just look at the number of eggs which I added!  If you decide to bake this cake, please read the recipe carefully, especially the preparation method.


Ingredients:
500 g butter
100 g condensed milk (thick)

30 egg yolks
220 g fine sugar
1 tbsp ovalette (optional)

100 g cake flour
30 g milk powder
1 tsp rempah kuih or spekkeok powder (mixed spices)

extra condensed milk
150 g melted butter

an 8"x8" baking pan

Method:
Sift cake flour, milk powder and rempah kuih into a bowl and mix well.  Set aside. Grease the bottom of baking pan with butter and line with baking paper.  Make sure that the baking paper fits the pan exactly!  There is no need to grease the sides of baking pan.


In a small bowl, mix a little condensed milk with 2 tbsp of melted butter.  You need to prepare this mixture again whenever needed.  This mixture is used to grease between the layers of batter.


In a mixing bowl, whisk butter and condensed milk until light and pale in colour.


In another mixing bowl, whisk egg yolks, fine sugar and ovalette together at high speed until thick and creamy.  Important note:  Ensure that bowl and whisk are CLEAN and FREE of butter or oil!!! Or else, your egg yolks mixture would not triple in volume!


Add butter mixture to egg yolks mixture and whisk at low speed until well mixed.  Do NOT overmix! Your batter should not curdle.  If it starts to curdle, add a tablespoon of the flour mixture.


Lastly, fold in flour mixture carefully, a tablespoon at a time, until well mixed.  Take about 80 g of batter and transfer to a small bowl.


Preheat conventional oven (with top & bottom heat) to a temperature of 170° C with the empty baking pan inside the oven.  Do NOT use convectional (fan) oven!  Once required temperature is achieved, remove baking pan from oven.  Immediately change your oven setting to TOP HEAT ONLY (small grill) and adjust the temperature by taking the lowest possible temperature available. My Miele oven has a lowest temperature of 200° C for grilling.  Place your oven grate on the second rack from bottom. 

Add 80 g of batter in baking pan and by using the back of a tablespoon, spread batter evenly to cover the base.


Bake in oven for about 3 to 4 minutes or until golden brown.  Kindly note that your baking time might differ from mine.  So, please stay by the oven and observe!  Once ready, remove from oven. By using the kek lapis presser, press evenly all over.  If there are bubbles on the surface, poke them with a toothpick before pressing it with the presser.


Then, brush evenly with the condensed milk/butter mixture by using a pastry brush.


Once done, add 80 g of batter and spread evenly on the baked layer.  The hot baking pan will melt your batter and spread it evenly.


Repeat procedure until all batter is used up.  Once the last layer is baked, brush evenly with condensed milk/butter mixture.  From my baking experience, I will get either 17 or 18 layers from this recipe.  Invert baking pan over a wire rack and remove pan. Leave kek lapis to cool down completely.


Remove baking paper and place kek lapis on a cake tray.

Happy Baking!

Sunday 8 February 2015

Sambal Belacan

A traditional spicy condiment which never fails in a malay home.  It consists of red chillies, roasted belacan (shrimp paste) and salt.  Some add sugar to get that extra taste which is optional.  The juice of a calamansi lime is squeezed over it before serving.  If you are a sambal belacan fan, just double the quantity and freeze them.

The thought of roasting the belacan will scare away some of you!  No worries!  What I did was to take the required quantity of belacan and pack it in an aluminium foil with the shining side facing inside. "Fry" the aluminium packet in a small pan without oil over low-medium heat for about 20 minutes. Voilà, your roasted belacan is ready!


Ingredients:
8 stalks red chillies, to be washed, dried & coarsely cut
15 g belacan (shrimp paste), to be roasted (note:  you can add more belacan if you prefer)
salt to taste
calamansi limes for garnishing

Method:
To roast the belacan, take the required quantity of belacan and pack it in an aluminium foil with the shining side facing inside.  "Fry" the aluminium packet in a small pan without oil over low-medium heat for about 20 minutes.  Or if you prefer the belacan smell in your kitchen, just roast it over open fire!


Pound or blend the cut chillies, roasted belacan and salt to taste.  I am too lazy to pound the chillies in the mortar.  Instead, my favourite toy, the Braun Multiquick is deployed.  I love my Braun mixer to bits because it chops or blends without any addition of water, compared to the blender.


This condiment tastes great with any dishes which are eaten with rice.

Bon Appetit!

Crispy Squid (Calamari) Rings

We love calamari rings and when we saw the frozen ones in the supermarket last weekend, we just could not resist it but to buy it.  The coating is pretty simple.  Just follow the recipe on how to make the batter.  Once you tried this recipe, you can say goodbye to the instant ones!


Ingredients (serves 4):
350 g squid (calamari) rings
150 g plain flour
80 g cornflour
3 tbsp rice flour
salt to taste
ground black pepper to taste
ground white pepper to taste
3 eggs

Method:
Wash and dry the calamari rings.  Set aside.


In a medium-size bowl, mix flour, cornflour, rice flour, salt, ground black pepper and ground black pepper together.

In another bowl, beat eggs lightly.  Then, add by the tablespoonfuls the mixed flour mixture until you get a not too thick batter.  Here, you need to use your "agaration" (estimation) ability.


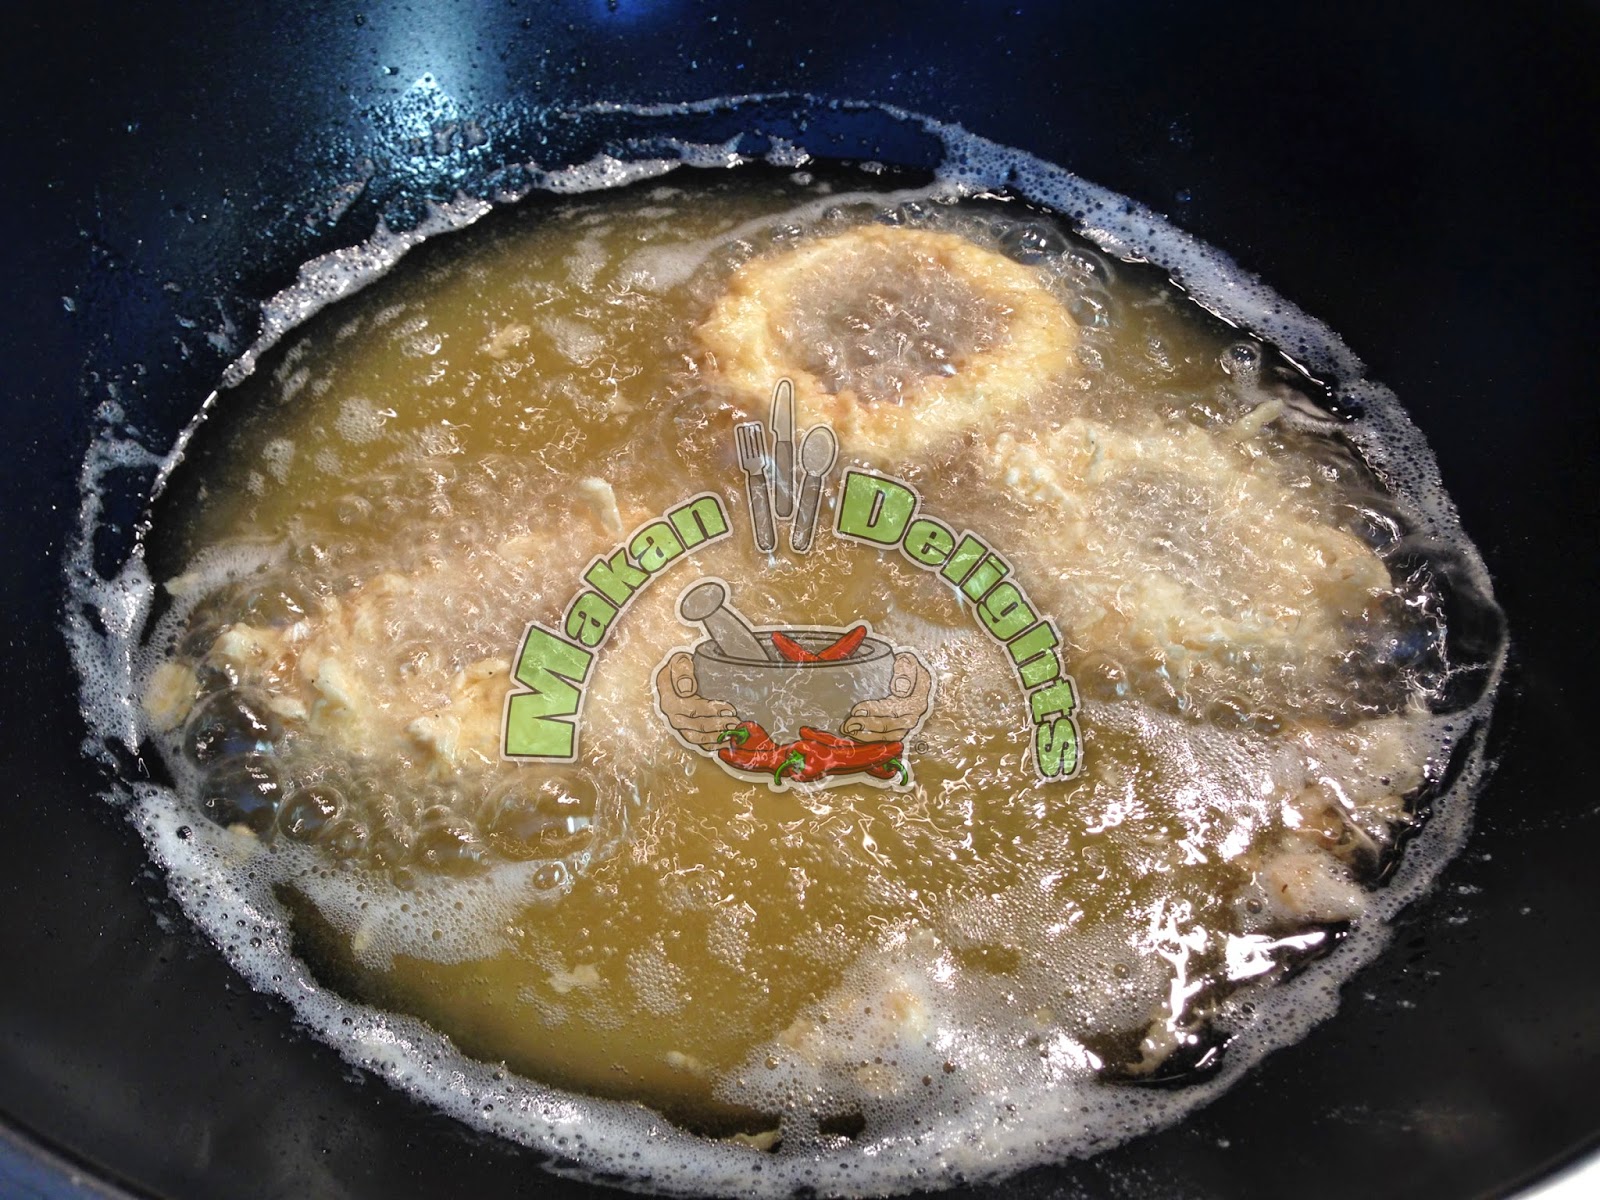
In a wok, heat enough oil for deep-frying over medium-high heat.  To check whether the oil is ready for frying, soak the tip of a wooden chopstick.  When you see bubbles surrounding the chopstick's tip, the oil is ready.

The frying has to be done portionwise i.e. 4 calamari rings at a time.  Firstly, take a portion of flour mixture and transfer to a bowl.  Dip a calamari ring in the egg batter and then, coat it in the flour mixture.  Add to hot oil and deep-fry until golden brown. Repeat procedure with the rest of the calamari rings.  If the oil is too hot, reduce the heat to medium.  Remove to a tray which is lined with kitchen paper.


Serve hot with any chilli sauce!

Bon Appetit!

French Beans in Coconut Gravy (Boncis Masak Lemak)

A typical malay dish which is easy to prepare.  Since hubby loves french beans, I prepared this simple dish today.  It is not necessary to pound or blend the shallots, chilli or garlic.  Just finely sliced them before sautéing them.  To round up the dish, I added prawns, tang hoon and coconut milk.  The taste is up to my hubby's satisfaction (our younger son's too) and I served it with Crispy Squid Rings, Sambal Belacan and hot jasmine rice on a cold and wintry Sunday afternoon.


Ingredients (serves 4):
250 g french beans, to be washed, tails removed and cut into 5 cm lengths
250 g prawns
some tang hoon (vermicelli), to be soaked in water until soft
400 ml coconut milk
salt to taste
2 tbsp cooking oil

1 stalk lemon grass, to be bruised
1 stalk red chilli, to be finely sliced
1 stalk green chilli, to be finely sliced
2 shallots, to be peeled and finely sliced
2 pips garlic, to be peeled and finely sliced

Method:
Wash and drain french beans.  Remove both ends and cut into 5 cm lengths.


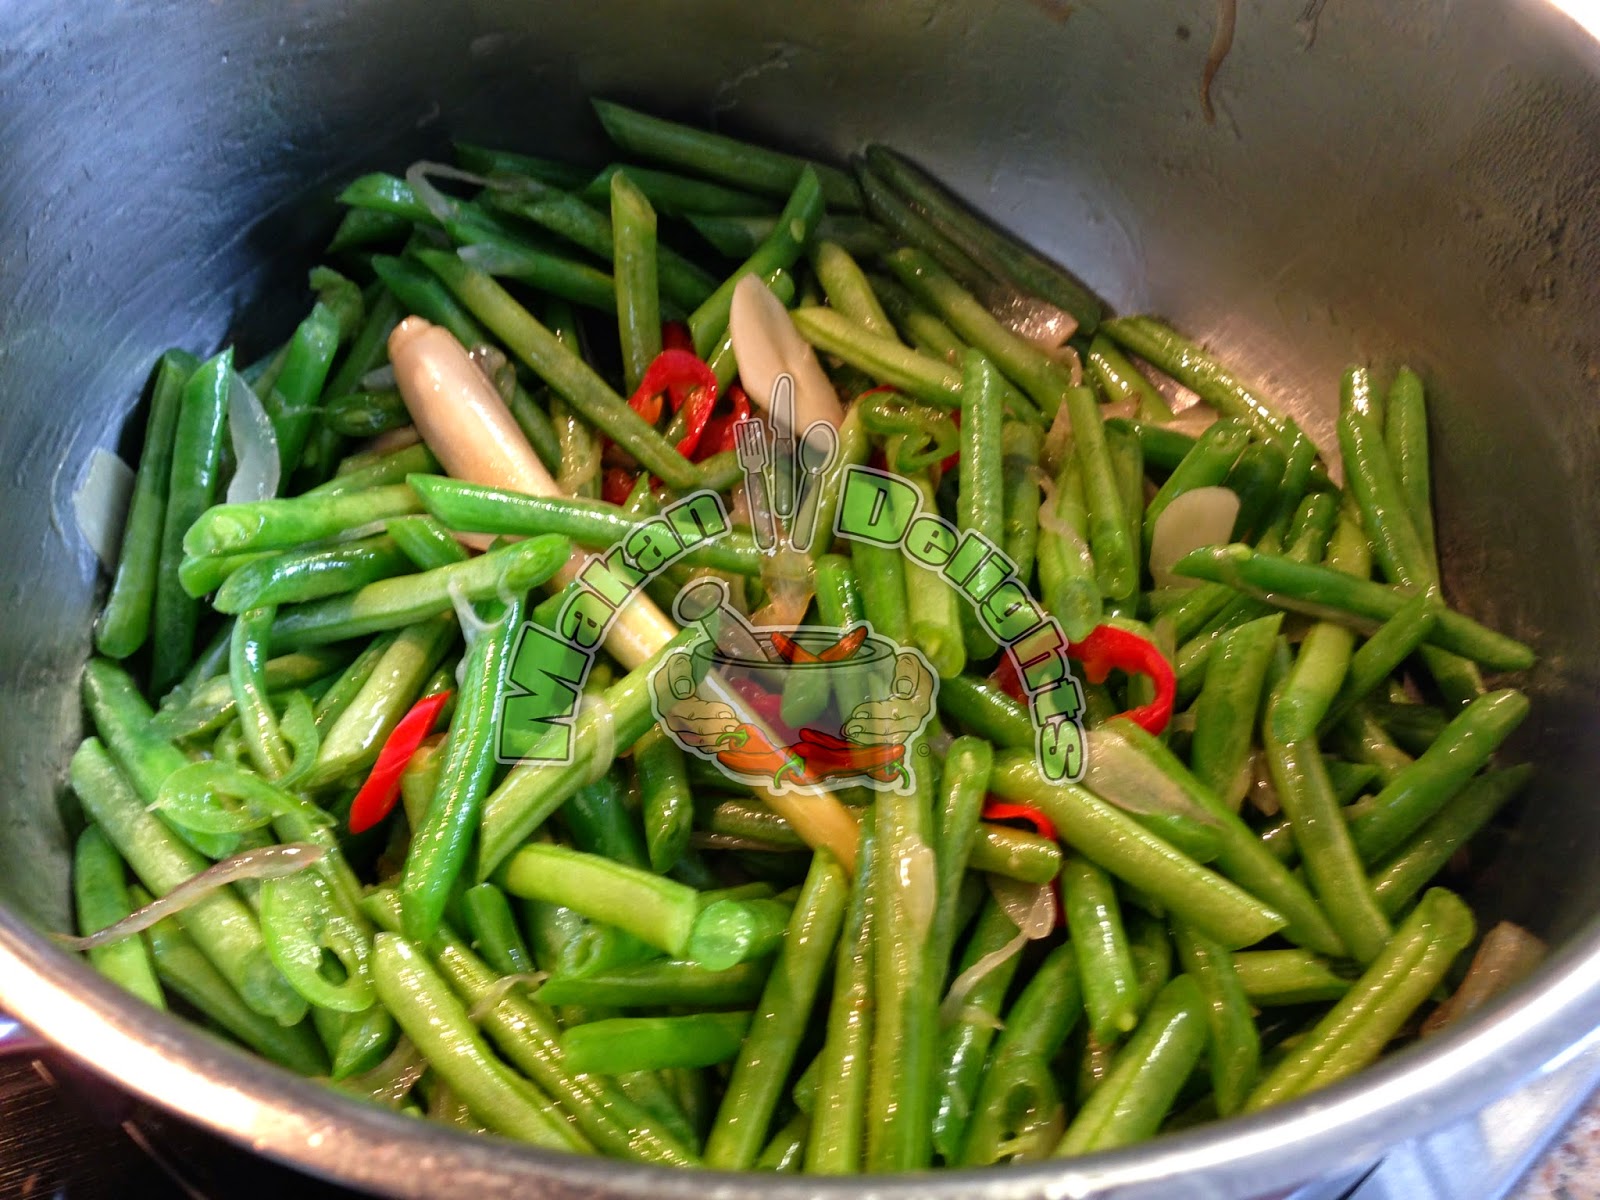
In a medium-size pot, heat cooking oil over medium heat.  Add sliced shallots, garlic, chillies and lemon grass and sauté until fragrant.


Add french beans and sauté for about 3 to 4 minutes.


Then, add tang hoon, prawns and coconut milk.  Bring to a light simmer and add salt to taste.  If the gravy is too thick, just add water to your preferred consistency.  Let it simmer until the french beans are cooked.


Serve hot with rice!

Bon Appetit!

Friday 6 February 2015

Coca Cola Chicken Wings

I finally cooked this dish for lunch today and I must say that it tastes delicious.  Our younger son has been pestering me to cook it after watching cooking videos on YouTube.  The preparation is very simple and this dish goes well with just plain rice. Do try out the recipe!  You will be glad when you did.  This dish is perfect for a lazy day!


Ingredients (serves 2):
8 - 10 chicken wings, to be cut at the joints
1 tbsp light soy sauce
2 tbsp black soy sauce (thin)
250 ml regular Coca Cola
pinch of salt
2 tbsp cooking oil

Method:
Marinate chicken wings with light soy sauce and 1 tbsp black soy sauce.  Leave aside for 10 minutes. In a medium-size pan, heat oil over medium-high heat.  Add marinated chicken and fry for about 5 minutes or until the underside is lightly browned.  Turn the chicken pieces over to cook the other side.

Note:  I added two drumsticks as well, just to see which part of the chicken tastes better.  My verdict: Chicken Wings, of course!


Add balance of black soy sauce and Coca Cola.  Put on the lid and cook further over low-medium heat for about 15 minutes.  Increase heat to high to thicken the gravy (without lid). Add a pinch of salt, if needed.


Serve hot with rice!

Bon Appetit!

Wednesday 4 February 2015

Kuih Kapit (Love Letters)

Another popular and must-bake wafer for Chinese New Year.  Also known as Love Letters, they are very crispy and delicious.

Traditionally, this wafer is "baked" in a special mould over charcoal fire.  This mould comprises of two round iron plates which are held together by thongs. These iron plates have designs on them which are transferred to the wafer. Before using, this mould is heated up over charcoal fire.  Then, it is opened and held over a bowl of batter.  Batter is poured onto one of the iron plates and at the same time, allowing excess batter to drip back into the bowl. The mould is then closed and returned to the charcoal fire.  After one minute, excess batter is removed from the circumference of mould by using a knife. Then, the mould is returned to charcoal fire for further baking until the kuih is golden brown in colour.

Hence, the name "kapit" (a Malay verb which means "to compress or press").  The next time I am in Singapore, I will buy my own traditional kuih kapit mould.  For this recipe, I used my electric kuih kapit mould which functions just as good.


Ingredients:
4 eggs (medium-size)
200 g fine sugar
200 ml coconut milk

100 g rice flour
20 g tapioca starch

Method:
In a bowl, whisk eggs and sugar until sugar is dissolved.  Add coconut milk and whisk well.  Then, add rice flour and tapioca starch a little at a time.  Whisk thoroughly and then, pour through a sieve into another bowl.


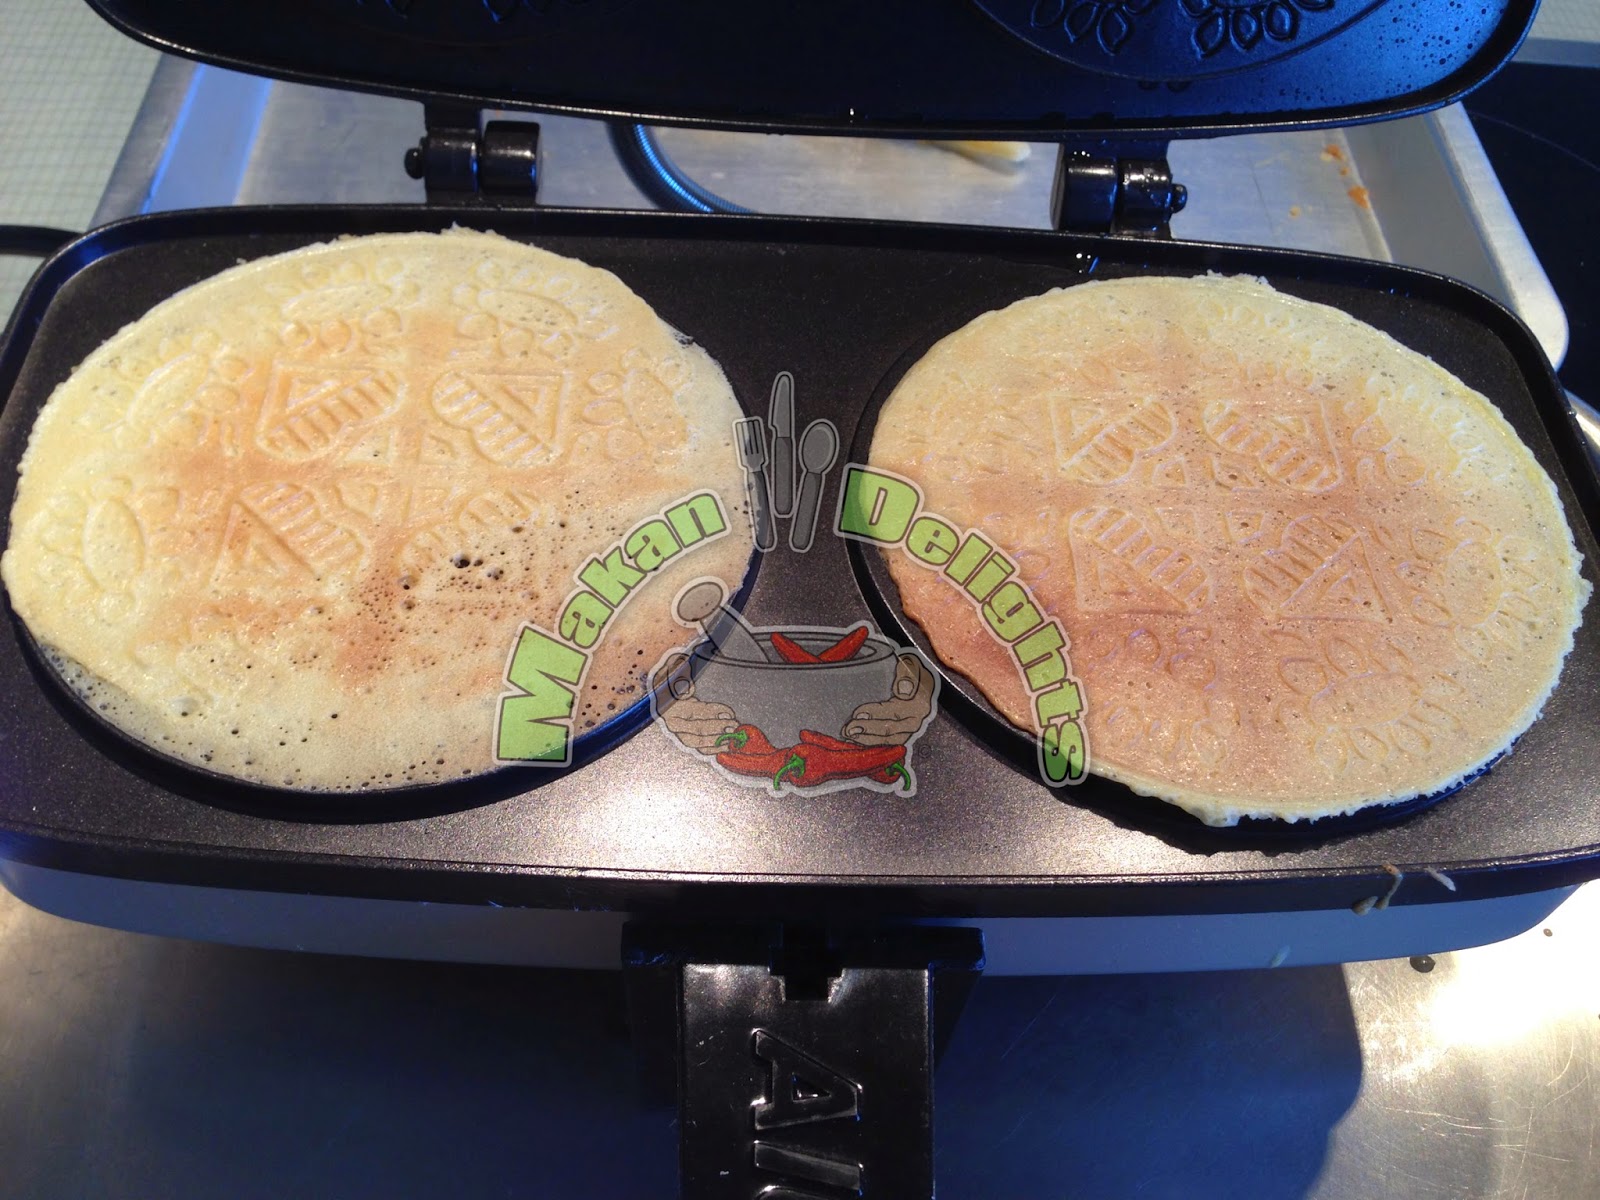
If using an electric mould, heat it up according to its instructions.  I am using an Iona electric mould as shown below.  One thing for sure, I will buy the traditional kuih kapit mould the next time I am back in Singapore.


Dab a little cooking oil onto the plates.  You need to do this only once.  There is no need to oil the mould each time you pour the batter.  By using a small sauce ladle, add a little batter to ONLY ONE of the moulds.  Move the mould maker around to evenly distribute the batter.  Don't worry, you will get the hang of it after a while. Close the mould for one minute before adding batter to the second mould. Once done, close mould and leave to bake for about 1 or 2 minutes.  Open up the lid and cut off the excess dough on the circumference, if any. Cover mould and bake until golden brown.  The baking process will take another 2 minutes.


Once golden brown, remove one kuih from mould by using a wooden chopstick, leaving the other kuih in the mould to keep warm.  Quickly fold the kuih into half and then, into quarter.  By using a meat stamper (shown below), press the kuih flat.  You have to be quick because the kuih gets hard pretty fast.


Another option is to roll the kuih into a cylindrical shape.  Be careful while rolling because the kuih is very hot to handle.  Repeat procedure until the batter is used up.

Note:  I made two portions of this recipe to fill up a medium-size plastic bottle to the brim.


Happy Baking!

Tuesday 3 February 2015

Mini Spring Rolls (CNY)

Another very, very, very addictive Chinese New Year savoury snack.  The preparation is very time-consuming!  All I can say is that it is worth the effort because they taste delicious!  These mini popiahs are filled with Chicken Meat Floss which I prepared a few days ago and deep-fried until golden.  A complete guide on how to roll the popiah skins are included below.

Ingredients (yields 200 pcs):
1 packet frozen popiah skins (250 g)
chicken meat floss (click for recipe) or pork meat floss
2 tbsp flour, to be mixed with water to form an edible glue or you may use egg whites
oil for deep-frying

Method:
Thaw packet of frozen popiah skins at room temperature.


After about an hour, remove popiahs from packaging and by using a sharp knife, cut the whole stack into 4 portions as shown below.


Remove to a large plate and cover with a damp teacloth.


Prepare edible glue mixture and filling mixture in separate bowls.


Peel a layer of popiah skin and position it like a diamond on a board or plate.  Place 1 tsp of filling in the middle as shown.


By using a small pastry brush, dab a bit of edible glue on the top corner and bring the bottom corner to meet the top corner. It is much easier to use a pastry brush instead of your finger.


Fold the left and right corners inwards.


Dab the top corner with edible glue and roll over the filling upwards to form a mini spring roll.


Repeat procedure until all popiah skins are used up.  You should get around 200 pieces and the chicken meat floss quantity from my other recipe is more than sufficient.  It is enough to fill up a half-size plastic cookie container.  If you want to make more, just double or triple both recipes.


In a wok, heat enough oil for deep-frying over medium heat.  Deep-fry small portions of mini spring rolls until golden brown.  Remove to a colander which is lined with kitchen paper in order that excess oil is absorbed.  Leave aside to cool down completely before storing in an airtight container.


Psssstttt ..... I added more filling as per hubby's request!

Bon Appetit!